Happy New Year and Cheers! I hope all of you will have a wonderful 2016, full with new experiences and of course lots of craft and textiles as well 😉
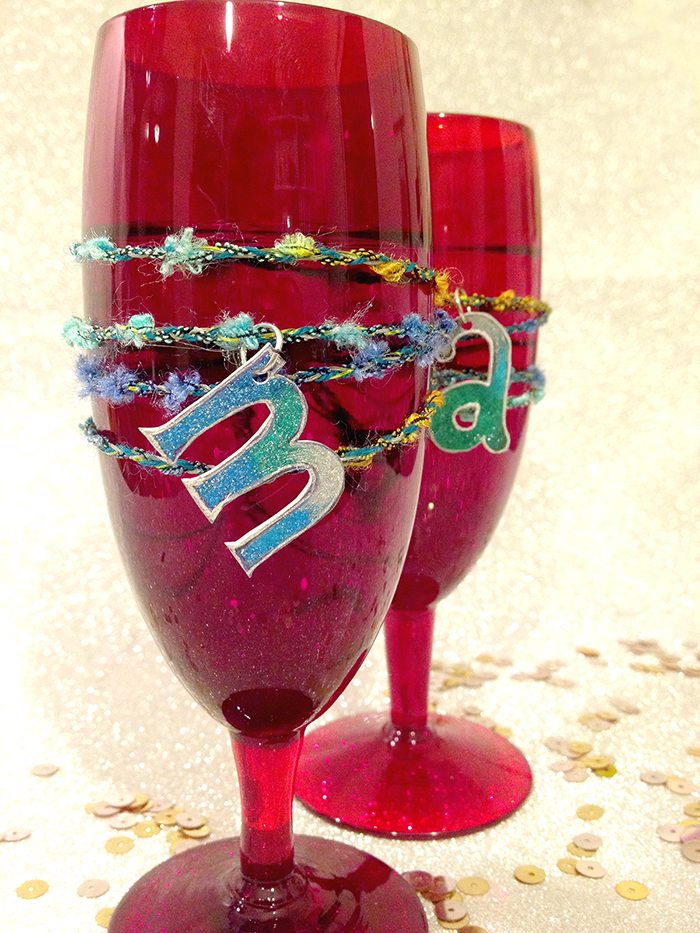
The last post in the series of Personal Craft Projects (for this time) is party jewellery for Champagne glasses, as well as a nice prezzie necklaces for all your New Year guests 🙂 You will get that sparkling buzz going to the party at the same time as the necklace doubles as a fab name tag for each wine or Champagne glass with each guest’s first initial to avoid any party drink mix-up 🙂 That’s three wishes in one, not bad for a New Year’s decoration, right? And they are easy to make as well. All you need is threads, shrinking plastic and pens. I have wrapped each finished necklace around a glass and then tied it tight enough so it wont slip off the glass. And that’s it – your glass is ready for some New Year’s toasting and mingling 😉
Enjoy!
How to do the necklace for the Champagne/wine glasses:
THE PENDENT:
I have used shrink plastic to make the jewellery pendants. You can find shrink plastic in any good craft stores. It’s a fun material that hasn’t really been used that much since its first introduction back in the day. Both my daughter and I are always exited when our drawn pieces go into the oven to be shrunk… its just a touch of magic.
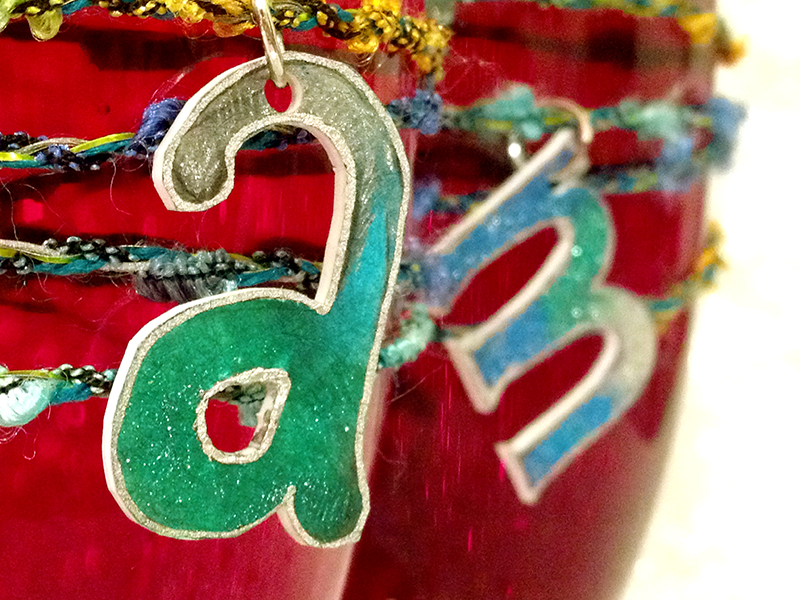
First draw your desired design with pens (on the matt side of the paper). You can use most pens, just let the design dry before you touch the painted surfaces. I used my daughter’s glitter pens for these pendants to give them that sparkly New Year feeling 🙂 I normally use a paper hole puncher to make the holes for pendants. The design will shrink to roughly a third of the drawn size and become hard as well as quite a bit thicker after it has been shrunk.
When you are ready with your design, cut it out with a pair of paper scissors. The shrink plastic that I used, is to be baked in the oven at 175 degrees C for a few minutes. But that might differ from brand to brand, so I would recommend you double check your instructions for your shrink plastic, so you don’t get the temperature wrong. I would also recommend to never shrink more than one design at the time, since the time in oven differs from design to design. And then the magic… the plastic will roll up, shrink and then unfold again. You know that your design is ready to be taken out from the oven when the piece is again laying flat onto the baking tray. Press the design with something heavy and flat directly after the piece is out of the oven. I normally use my big, wooden cutting board with some aluminium foil in-between the cutting board and the design. This makes the design completely flat. You can slightly move your design for some seconds before flattening it, if you want to do some small corrections to the shape. Once the design is cold you can’t change it without reheating it in the oven first.
THE CHAIN:
I have plaited different thin threads together to make the chain for the pendent. This time I used different glittery and sparkly materials that I found among my yarns. I used 1 thread of reflex yarn, 2 green Lurex threads, 1 thread of shiny, space coloured, fancy yarn as well as 1 thread of thin blue-green wool. I cut all threads to 1 meter. The plated thread became roughly 35 cm long. This will differ slightly dependent on your type of threads, the number of threads as well as how tight you plait it. The pendants were fastened with those little metal jewellery rings that can be find in most good craft stores. I just tied the necklace together at the back, but if you want it to be a bit more stylish you can always add a proper clip.
Good Luck and Enjoy!